


How to Choose the Right Brake Pads for Your Motorcycle
A complete motorcycle brake pads guide for riders of Yamaha, Kawasaki, Honda, and beyond.
What Do Brake Pads Do?
Motorcycle brake pads are a critical component of your braking system. They provide the necessary friction against the brake disc (rotor) to slow down and stop your motorcycle. Whether you're cruising on a Yamaha, carving corners on a Kawasaki, or commuting on a Honda, your safety depends on effective, responsive braking.
Types of Motorcycle Brake Pads
Choosing the right brake pads means understanding the different materials available and how they perform. Let’s break down the most common types:
| Type | Pros | Cons | Best For |
|---|---|---|---|
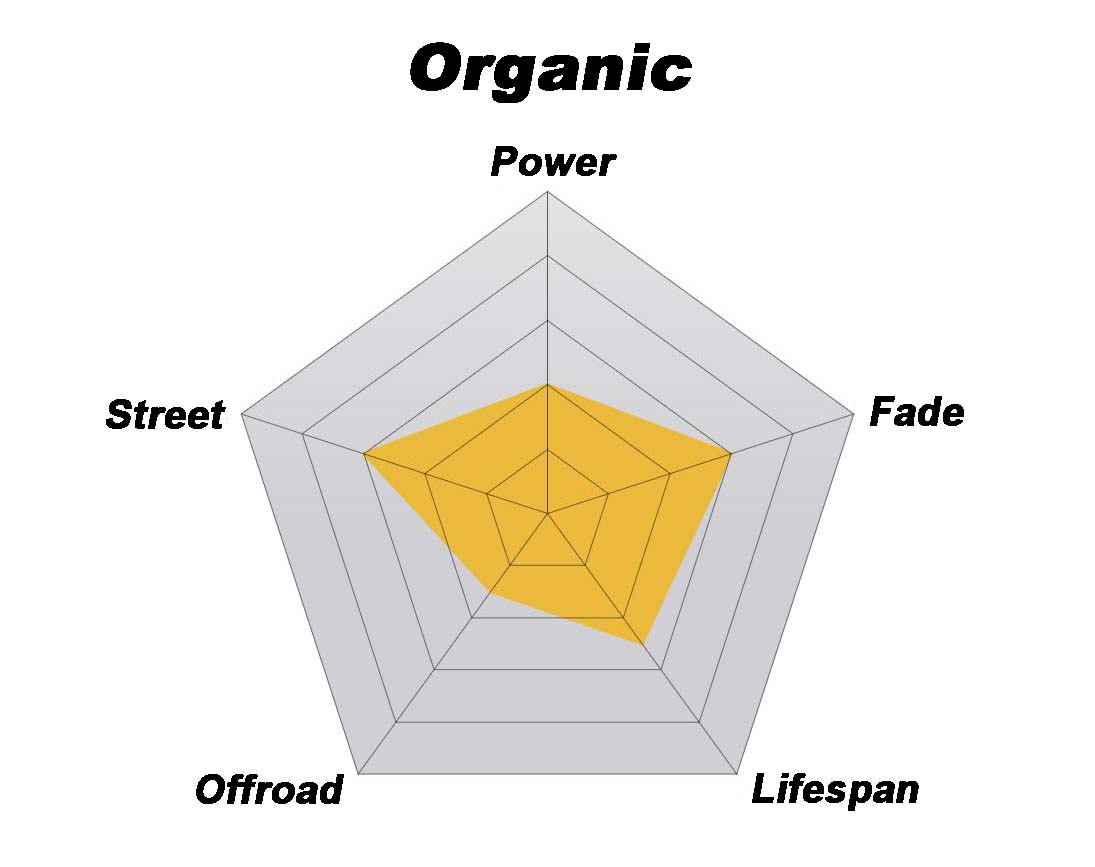
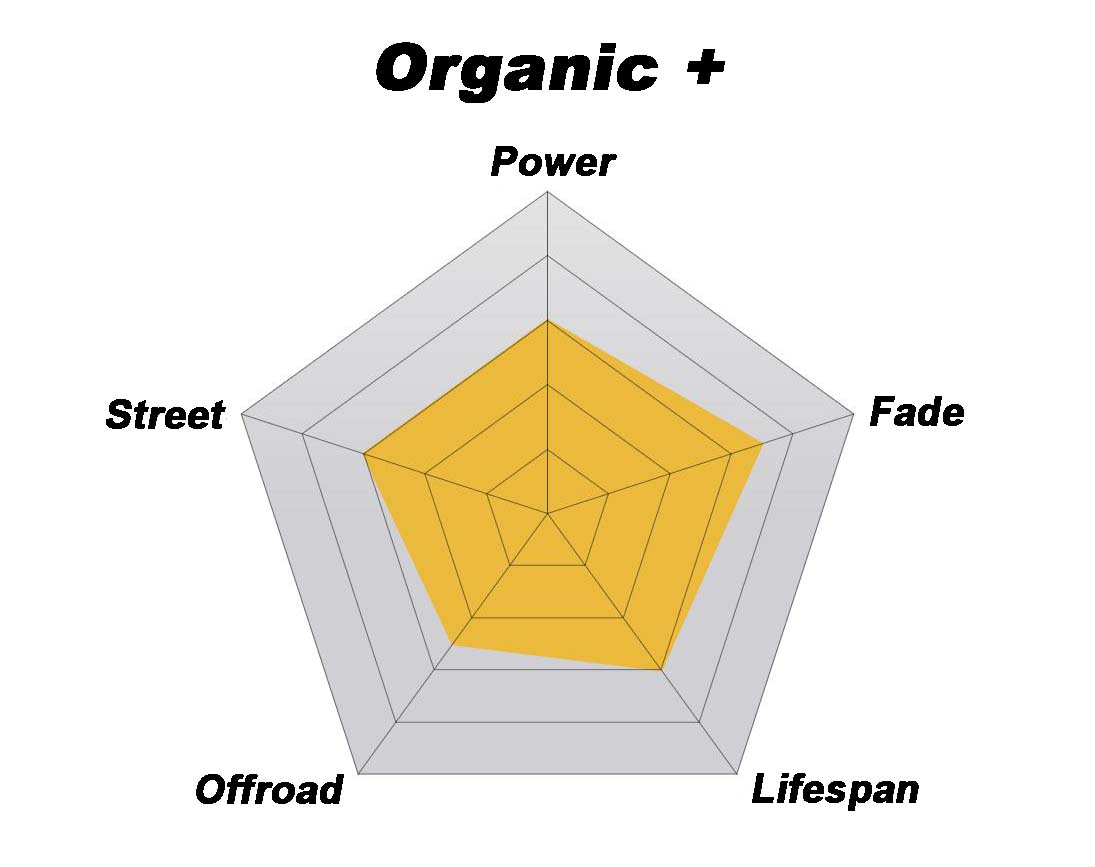
| Organic Brake Pads | Low cost, quiet operation, gentle on rotors | Shorter lifespan, less effective at high temps | Everyday street riding, light commuting |
| Sintered Brake Pads | Excellent braking power, performs well in all weather, long-lasting | Noisier, more rotor wear | Sport bikes, racing, heavy commuting (Yamaha R1, Kawasaki Ninja) |
| Semi-Metallic Brake Pads | Good performance and heat dissipation, more durable than organic | May produce more dust and noise | Mixed riders – balance of daily use and sporty performance |
| Ceramic Brake Pads | Low dust, very quiet, long lifespan | Expensive, not ideal for aggressive riding | Touring riders, urban cruisers (Honda Goldwing, Kawasaki Vulcan) |
When to Replace Motorcycle Brake Pads
Knowing when to replace motorcycle brake pads is crucial for rider safety. Look out for these signs:
- Less than 2mm of pad material remaining
- Grinding or squealing noises when braking
- Increased stopping distance
- Visible scoring on the brake disc
- Brake lever feels “spongy” or unresponsive
If you notice any of the above, it’s time to inspect or replace your brake pads. If you’re unsure, check your bike’s service manual or visit a trusted mechanic.
How to Choose Motorcycle Brake Pads
This part of the motorcycle brake pads guide dives into the decision-making process. When you choose motorcycle brake pads, ask yourself:
- What’s my riding style? Racing? Touring? Commuting?
- Do I ride in wet or dusty conditions? You may need sintered pads.
- Is stopping power or comfort more important?
- What type of motorcycle do I ride? Different bikes suit different pad types.
DriftnDrive makes the process easier with our handy Vehicle Selector Tool. Simply enter your make and model (e.g., Honda CBR500R, Yamaha MT-07, or Kawasaki Z650) and we’ll show you compatible options.
🔧 Need Help Picking the Right Pads?
Check out our curated collections of high-quality brake pads:
Brake Pad Replacement Cost in Australia
The brake pad replacement cost varies depending on your bike and whether you DIY or use a mechanic. On average:
- DIY brake pads: $30 – $100 per set (front or rear)
- Professional service: $150 – $300 including parts & labour
Using brands like MetalGear or Esjot from DriftnDrive ensures you're getting OEM-level or better quality without paying dealership prices.
How to Change Motorcycle Brake Pads
If you're confident in your skills, you can change motorcycle brake pads yourself. Here's a simplified step-by-step guide:
- Put the bike on a stand and remove the wheel if necessary.
- Unbolt the caliper and slide it off the disc.
- Remove the old pads and inspect the rotor for wear.
- Push the pistons back gently using a brake spreader or c-clamp.
- Insert the new pads (make sure they're seated properly).
- Reinstall the caliper and torque bolts to spec.
- Pump the brake lever to restore pressure before riding.
Don’t forget to wear gloves and check your manual for torque specs!

.jpeg)
How to Bleed Motorcycle Brakes
After a pad change, especially if you’ve opened the brake system, it’s important to know how to bleed motorcycle brakes. This removes air from the hydraulic lines for consistent stopping power.
- Top up your brake fluid reservoir (use the correct DOT type).
- Attach a clear tube to the caliper’s bleed nipple and place the other end in a container.
- Pump the brake lever and hold pressure.
- Loosen the bleed screw to release air/fluid, then tighten.
- Repeat until fluid runs clear with no air bubbles.
- Top off fluid and ensure a firm lever feel.
If you're unsure or new to brake maintenance, it's worth having a pro double-check your work.
Why Riders Trust DriftnDrive
Whether you ride a Yamaha R3, Kawasaki Ninja 650, or Honda CB500X, DriftnDrive stocks top-quality brake pads tailored to your needs. Our expert support, local shipping, and precision parts make us the go-to store for Aussie riders.


